How To - Add MCP Nest to ChatGPT
How to add MCP Nest as a remote connector to ChatGPT using Developer Mode.
Add MCP Nest as a ChatGPT Connector
You can connect your MCP Nest servers to ChatGPT as a custom MCP server connector, making them available across all platforms (Desktop, Mobile). This allows ChatGPT to use the tools you have running in your MCP Nest environment through the new Developer Mode MCP settings.
Follow these steps to set it up:
-
Navigate to your ChatGPT connector settings page: https://chatgpt.com/#settings/Connectors.
-
Click Advanced Settings.
-
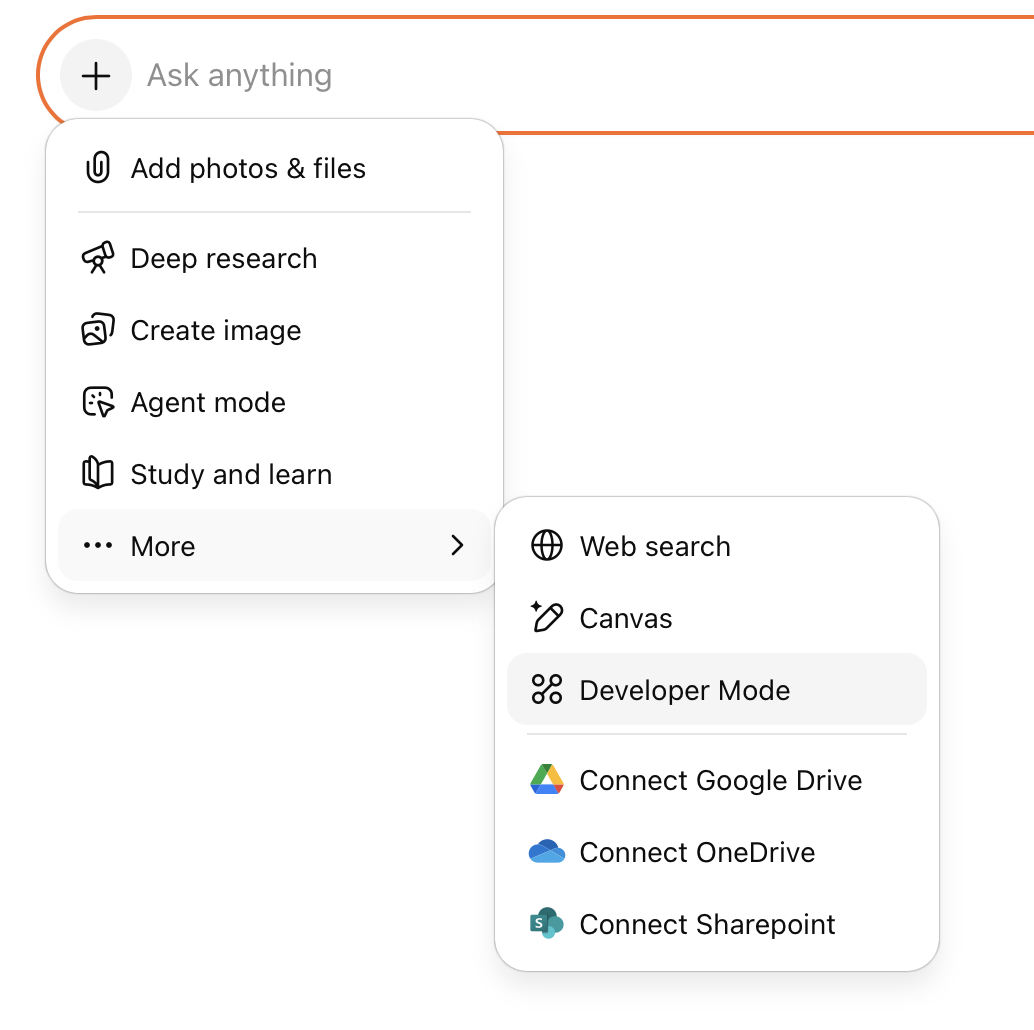
Toggle Developer Mode in https://chatgpt.com/#settings/Connectors/Advanced.

- Click on Create to create a new MCP Server.

-
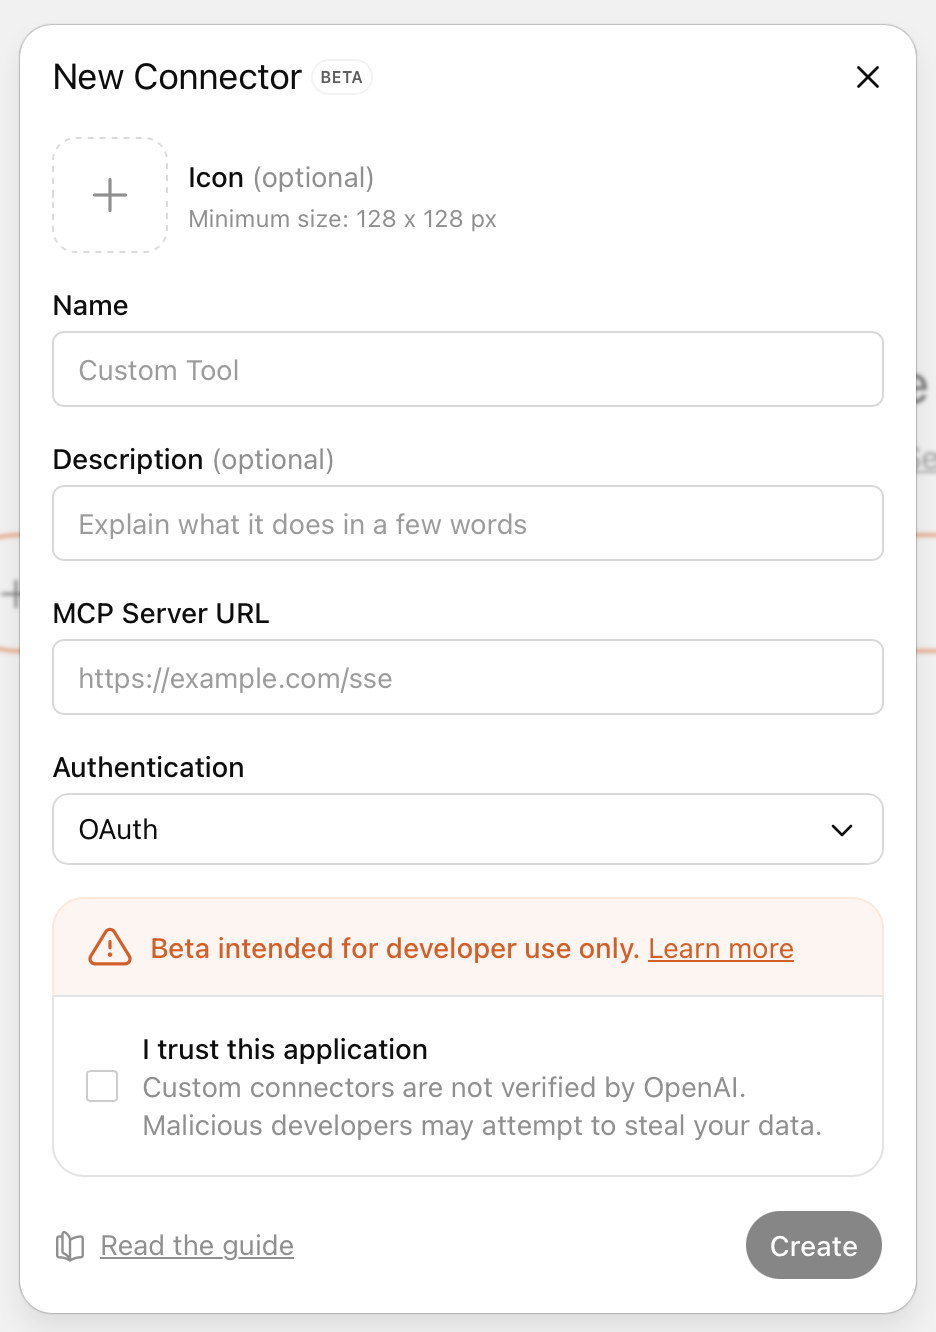
A form will appear. Fill it out with the following details:
-
Name:
MCP Nest -
Server URL:
https://mcp.mcpnest.dev/mcp -
Authentication:
OAuth - Toggle: I trust this application
-
Name:
-
Click Create to save the new MCP server connection.
-
You will be redirected back to the connectors list. The MCP Nest server should now appear in your list of available MCP servers. This may take you to the MCP Nest website to authorize the connection.
Once you have the Nest MCP connector enabled, you will be able to use it by enabling ‘Developer Mode’ in a new chat
Once connected, you can start using your MCP Nest tools directly within ChatGPT by mentioning them in your conversation.
