How to deploy multiple separate MCP configurations
MCP Nest allows you to have multiple config deployments. Here's how to use them!
How to deploy multiple isolated configurations with MCP Nest
MCP Nest makes it easy to have multiple isolated configurations for different needs. For example, you may want to have the GitHub MCP, Ask Perplexity MCP, and Linear MCP servers for your dev environment, but not necessarily in day-to-day Claude use.
Similarly, you may want to exclude certain other MCP servers related to day-to-day life from polluting your dev LLM context.
MCP Nest allows you to split them easily - here’s how:
- Head to your config panel
Navigate to Config.
At the top, you’ll see the options to rename a config or create a new one.

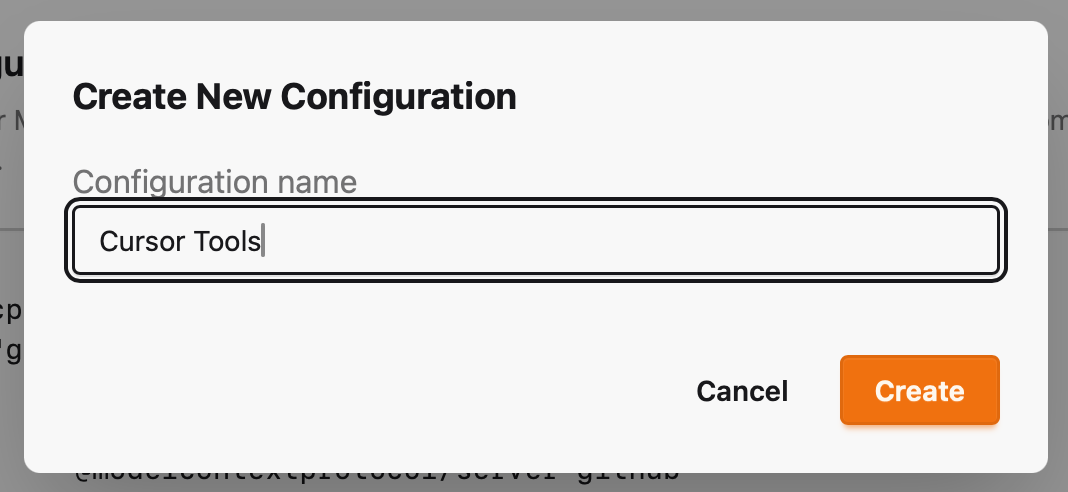
- Give your config a fitting name
To make it easy to identify which config is for what purpose, let’s give the config a fitting name. Here I’ll use ‘Claude Code Tools’ because we’re planning to use this config within Claude Code.
- Configure and deploy your config
Once created, MCP Nest will give you a fully isolated config set that you can configure however you please.
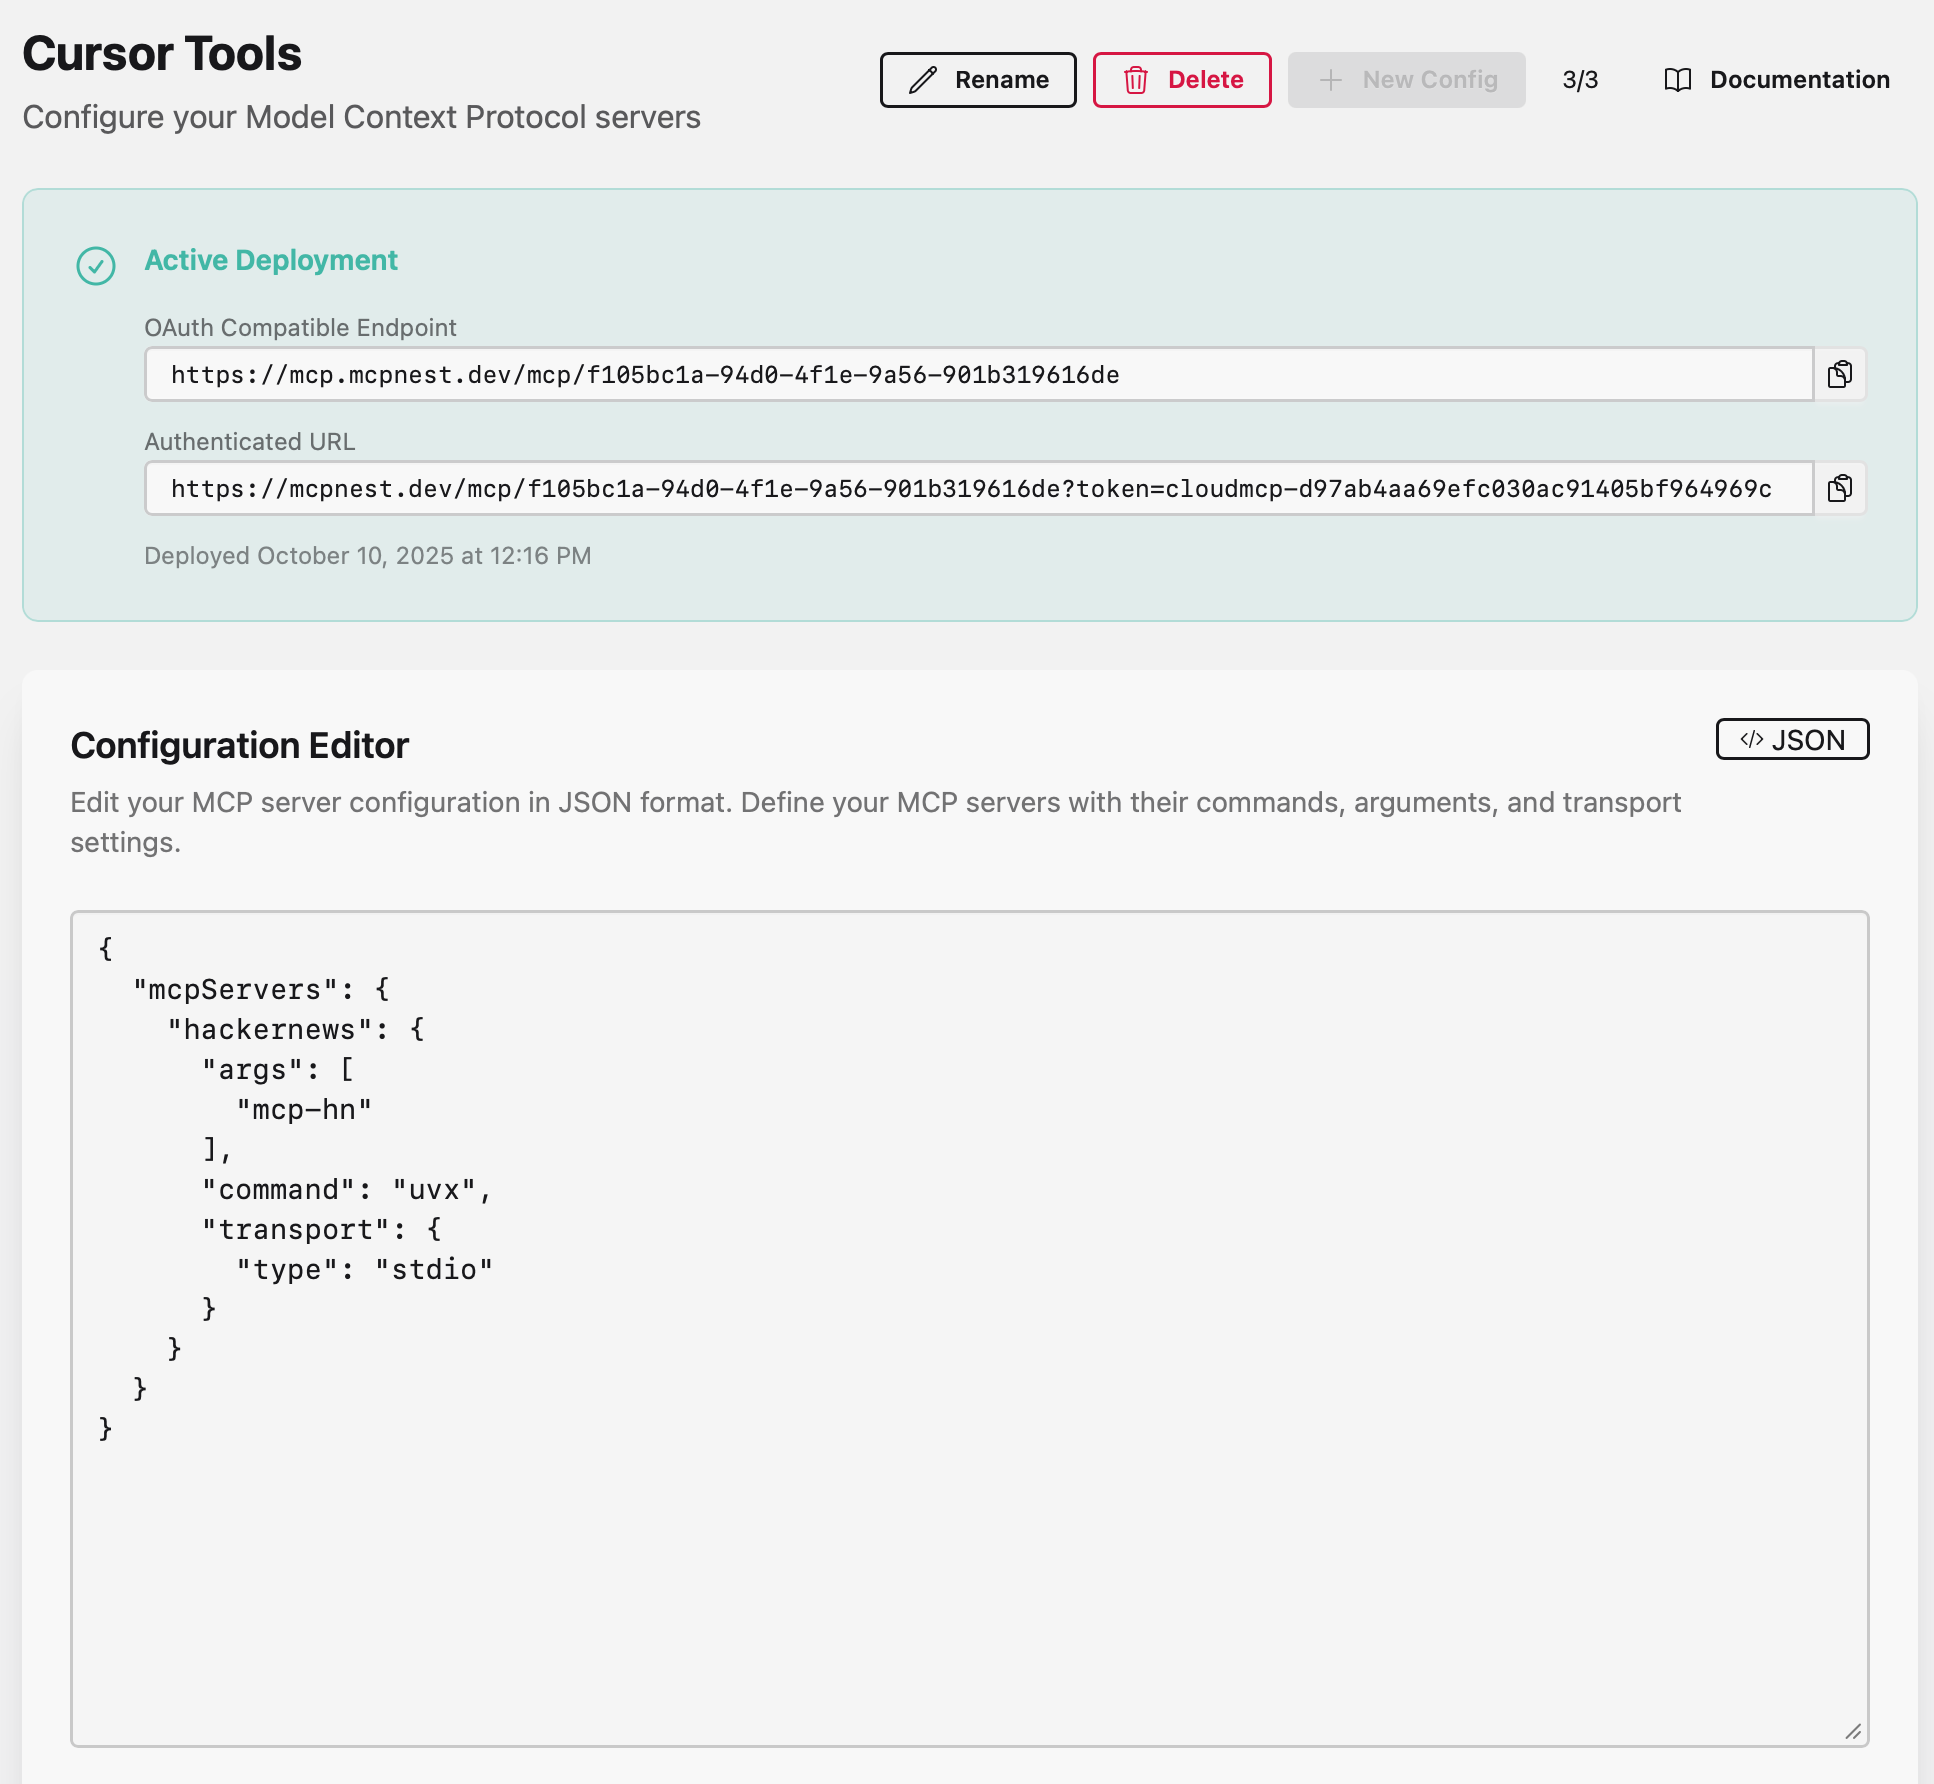
You’ll get 2 URLs you can plug into your favorite editor or LLM tool:
- The pre-authenticated URL includes a token that will skip login for tools that don’t support OAuth
- The OAuth-compatible URL will prompt a full OAuth token exchange when plugged in
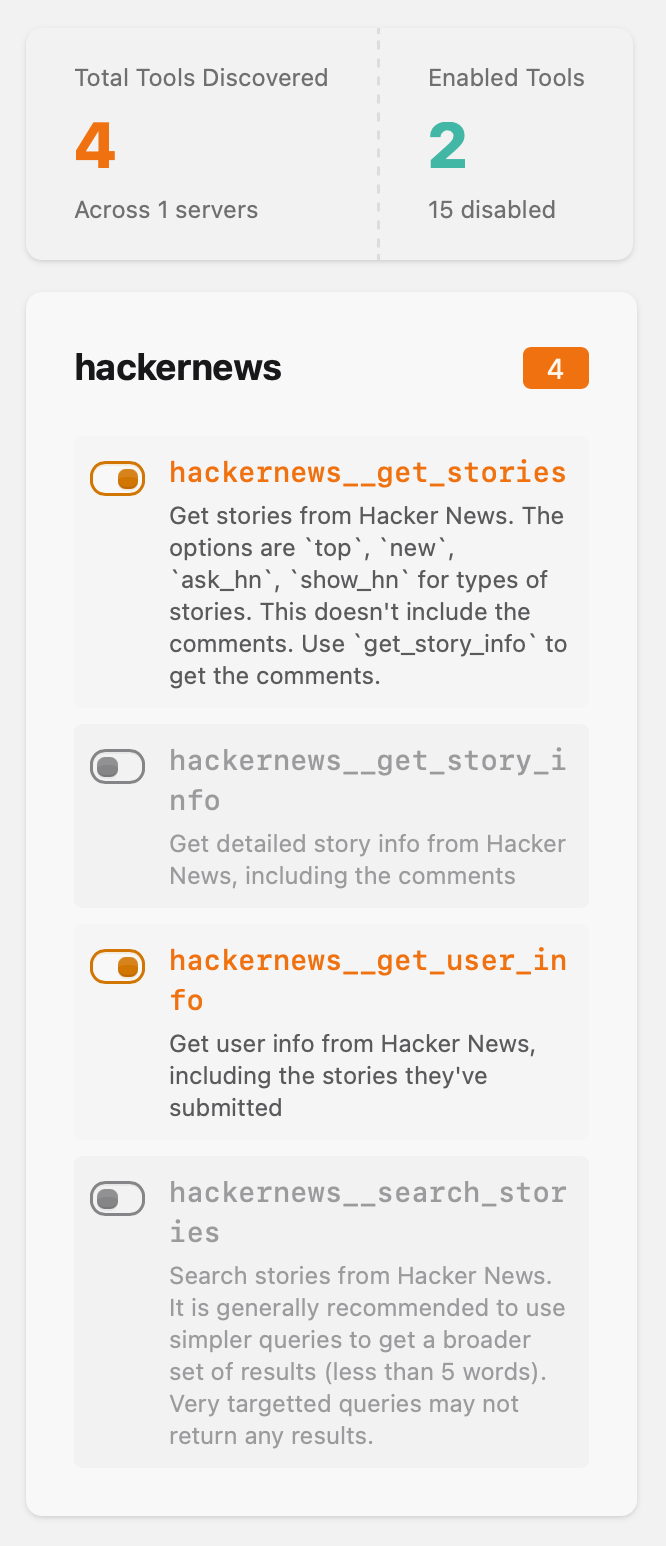
And of course, we can then also toggle the tools we want from the config dashboard.
Security of deployments
Each config deployment is fully isolated. Even if one MCP server acts maliciously and tries to steal your tokens, it is not possible to access data stored in other config sets.
Config deployments are a great way to further separate tools while still benefiting from centralized MCP Nest deployment.