How to use Apple iCloud Calendar in ChatGPT, Perplexity, or Claude
How to turn the Apple iCloud Calendar CalDAV MCP into a remote MCP connector using MCP Nest.
How to use Apple iCloud Calendar in ChatGPT, Perplexity, or Claude
You can easily integrate Apple iCloud Calendar into Claude, Perplexity, or ChatGPT by turning the CalDAV MCP into a remote MCP connector using MCP Nest. This guide shows you how to use the madbonez/caldav-mcp repository to set this up for your Apple iCloud Calendar.
Quick Deploy
Deploy the CalDAV MCP server to MCP Nest with one click:
You’ll be prompted to fill in your Apple ID and app-specific password before deploying.
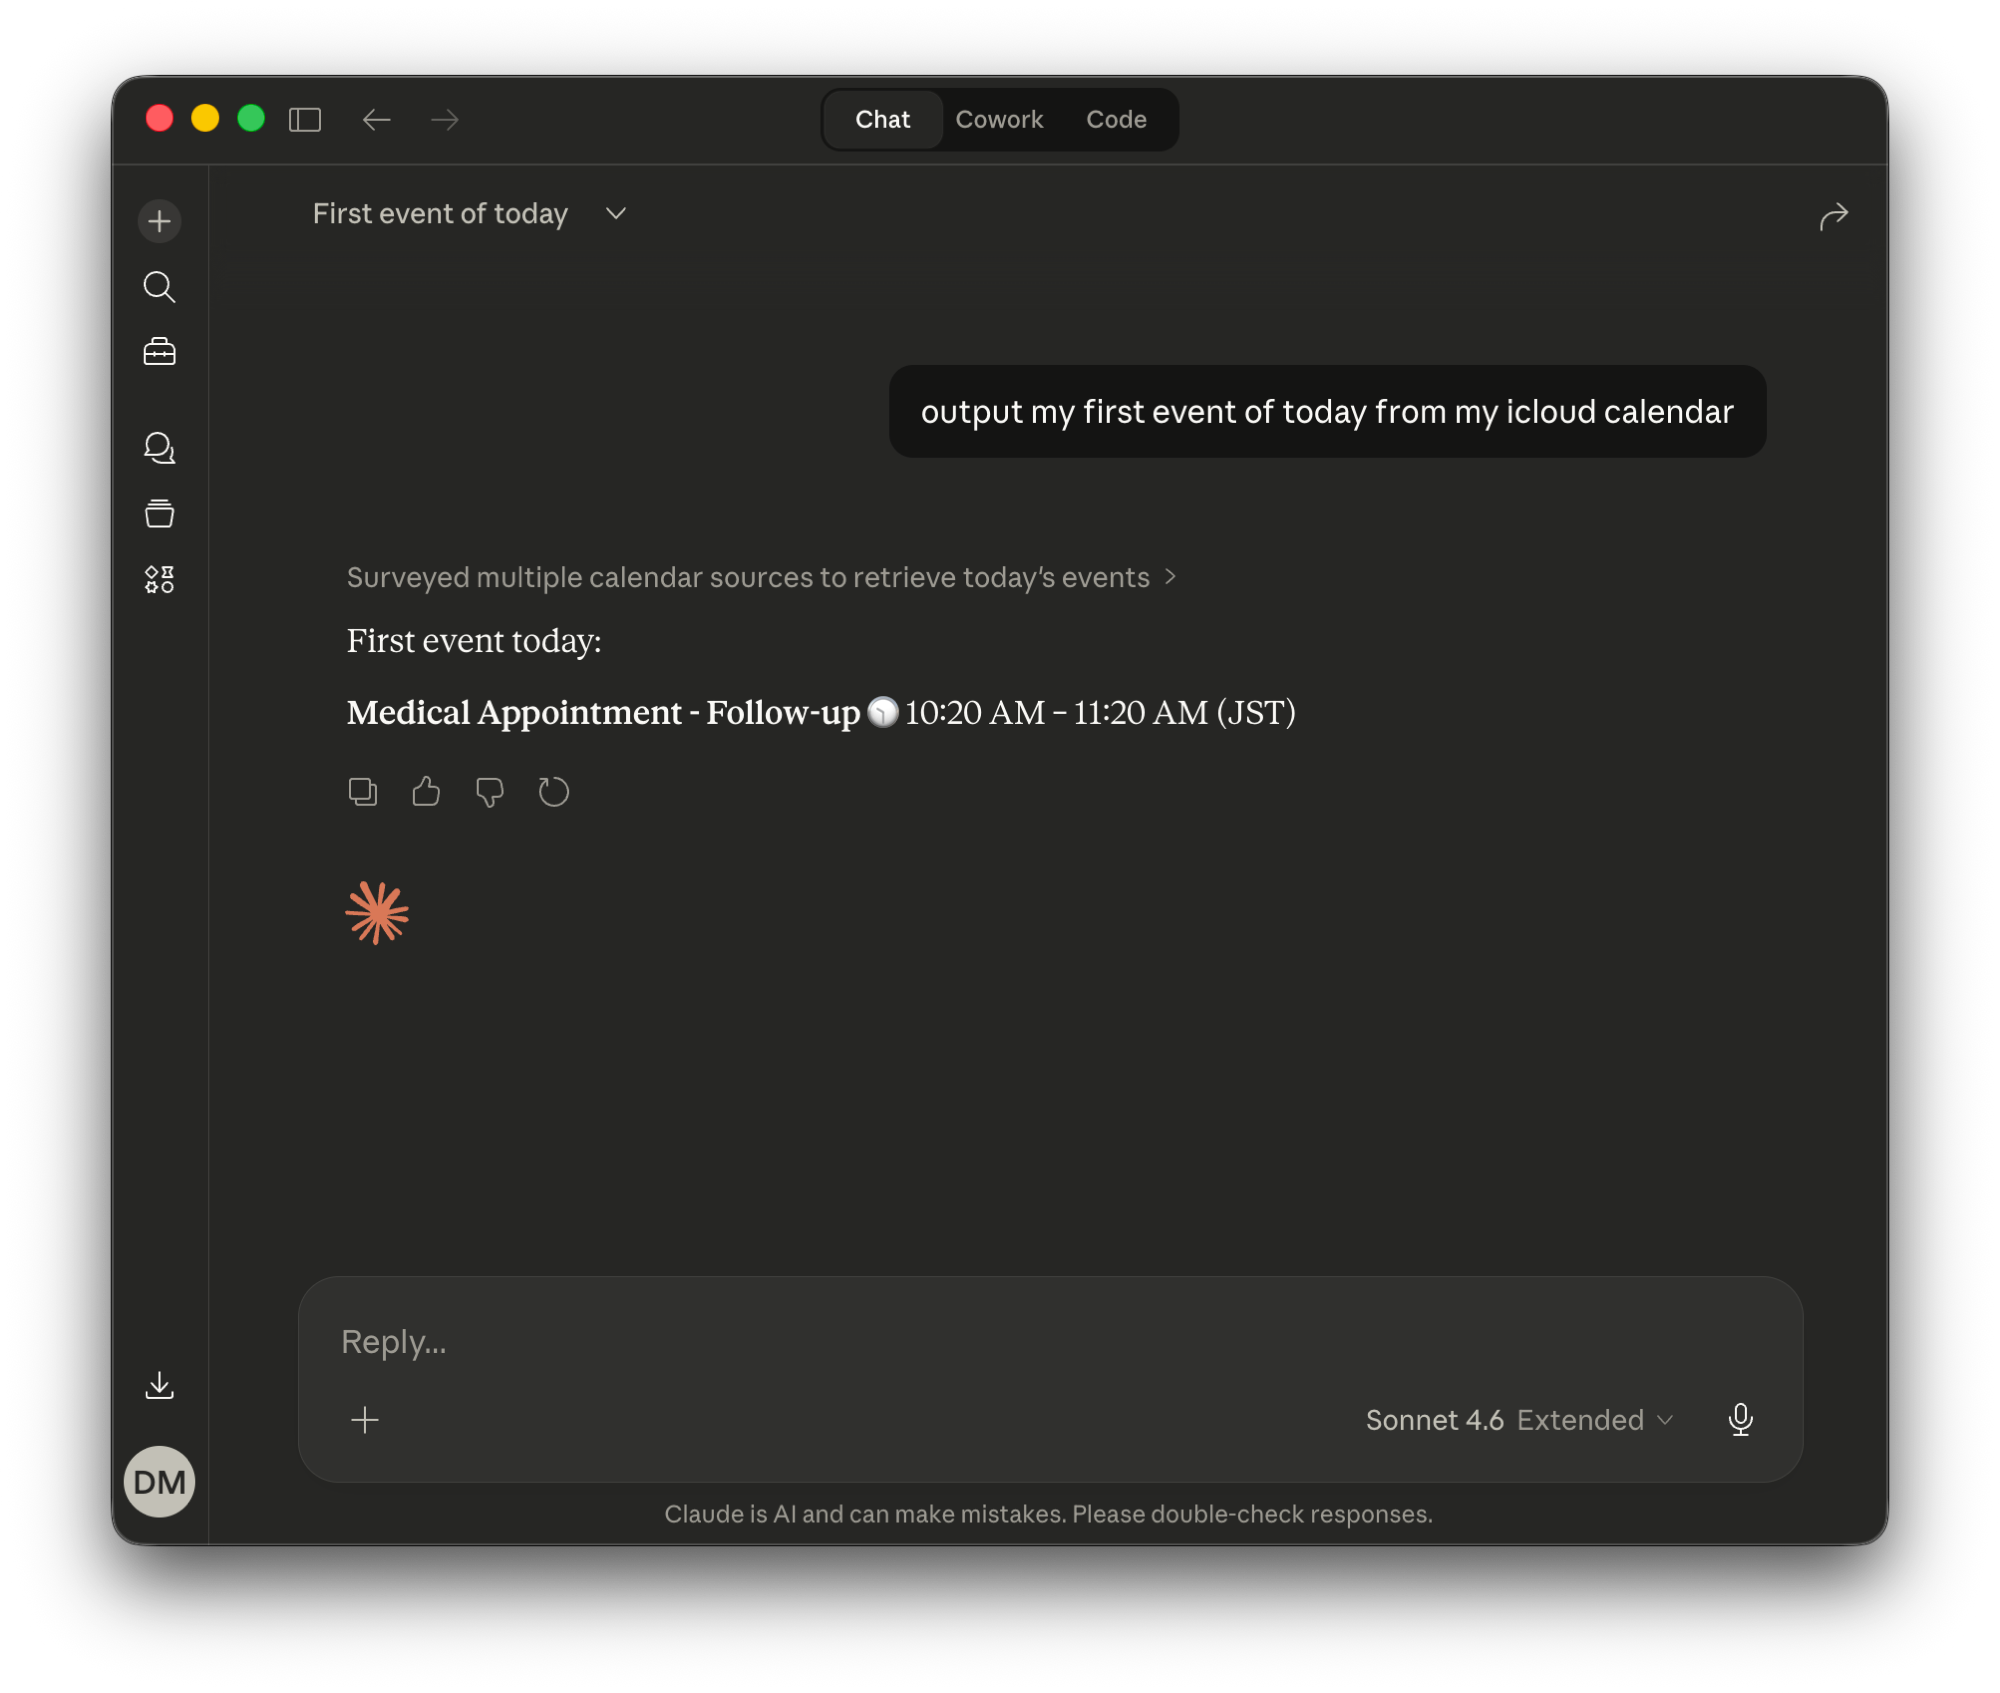
By connecting the Apple Calendar MCP to your favorite AI assistant, you can turn it into your personal scheduling assistant. You can ask the AI to read your calendar to check your availability, schedule new events, and manage your meetings based on your prompts.
1. Create a New Config in MCP Nest
Go to your MCP Nest dashboard and click Create MCP Deployment.
Command: npx
Args: caldav-mcp
Environment Variables:
| Variable | Value |
|---|---|
CALDAV_BASE_URL |
https://caldav.icloud.com/ |
CALDAV_USERNAME |
Your Apple ID email |
CALDAV_PASSWORD |
An app-specific password |
Do not use your main Apple ID password. Generate an app-specific password from your Apple ID account settings.
Save and deploy.
2. Connect to Claude, ChatGPT, or Perplexity
Once your Apple Calendar MCP is running on MCP Nest, you can connect it as a remote MCP connector.
Connecting to Claude
- Navigate to your Claude.ai connector settings page: https://claude.ai/settings/connectors.
- Click the Add Custom Connector button.
-
Fill in the details:
-
Name:
Apple Calendar via MCP Nest -
Remote URL:
https://mcp.mcpnest.dev/mcp(or your specific deployment URL provided by MCP Nest)
-
Name:
- Click Add and then click the Connect button next to it in the list to authorize the connection.
Connecting to ChatGPT
- In ChatGPT, you can use this as a remote MCP connector if you are setting up a custom GPT or using the MCP integrations depending on the client.
- Point the connector to your MCP Nest remote URL and authorize it.
Connecting to Perplexity
- Navigate to your Perplexity account connectors page: https://www.perplexity.ai/account/connectors.
- Look for the option to add a new custom connector.
- Provide your MCP Nest remote URL as the connection point.
- Authorize the connection as prompted.
Once connected, you can simply ask your chosen AI assistant to read your schedule, create new calendar events, or check your availability using the new remote MCP connector!